If you’re ready to start building applications with CodeIgniter, the first step is getting it installed on your system. Don’t worry—CodeIgniter is lightweight and easy to set up, even if you’re new to PHP frameworks.
In this guide, I’ll walk you through different methods to install CodeIgniter and get your development environment ready.
System Requirements
Before installing, make sure your environment meets these requirements (for CodeIgniter 4, the latest version at the time of writing):
- PHP 7.4 or newer (PHP 8+ recommended)
- Composer (for dependency management)
- PHP extensions:
intl,mbstring,json,xml - A local server like XAMPP, MAMP, WAMP, or a custom LAMP/LEMP stack
Method 1: Install CodeIgniter via Composer (Recommended)
Using Composer is the easiest and most reliable way to set up a new CodeIgniter project.
Step 1: Open Your Terminal or Command Prompt
Navigate to the folder where you want to create your project.
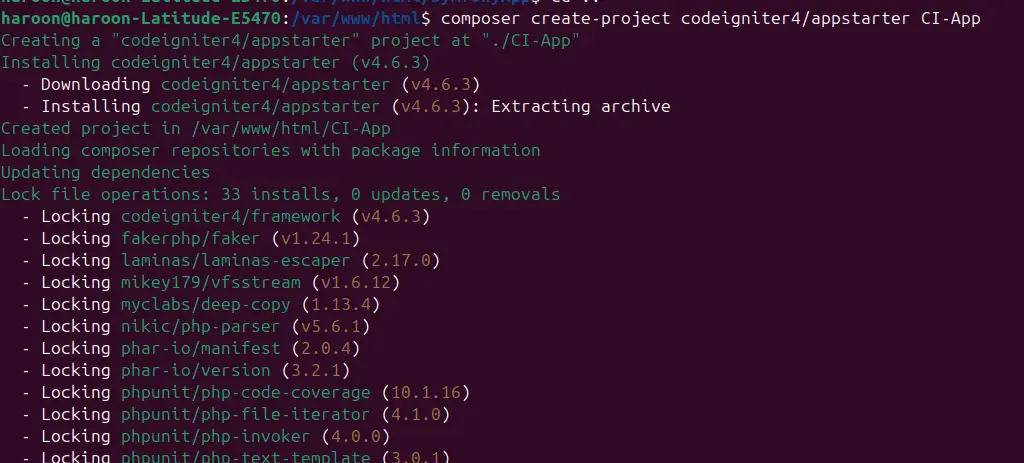
Step 2: Run the Composer Command
composer create-project codeigniter4/appstarter my-app
This will create a new folder named my-app with the latest version of CodeIgniter inside.
Step 3: Move Into the Project Directory
cd my-app
Step 4: Start the Development Server
php spark serve
Now open your browser and visit:
http://localhost:8080
You’ll see the default CodeIgniter welcome page!
Final Thoughts
CodeIgniter’s installation is refreshingly simple compared to many other frameworks. With Composer, it takes just one command, but even the manual method is quick.
Once installed, you can start building controllers, models, and views to bring your web application to life.